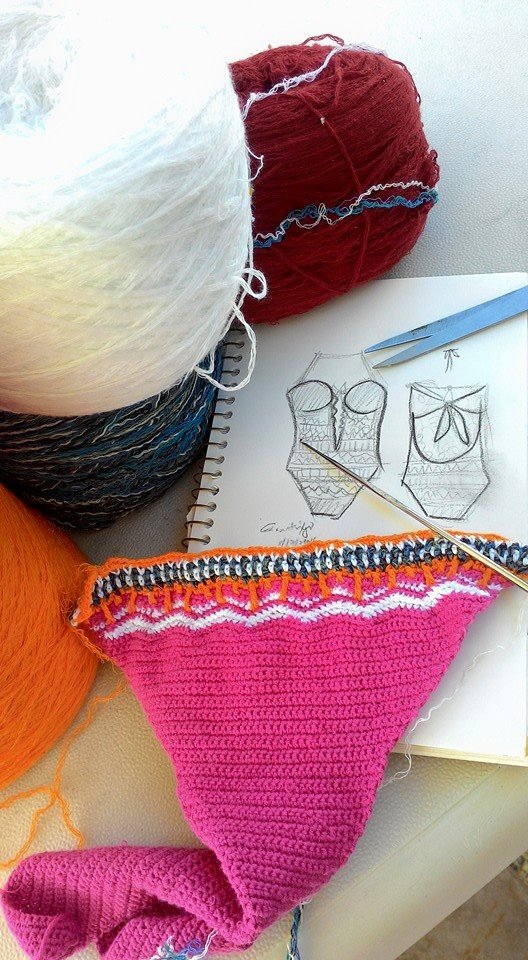
After my first yarn frenzy at https://facebook.com/onlineyarnstore, I told myself I would not do it again, but I am really curious about the other yarns. One time, while browsing her page, I saw a post that tells she would be posting new yars for sale!!!! And yes, I did wait for the yarns to come, until I was overcome by sleepiness. When I woke up, the novelty cottons and basic cotton I was expecting to get are already taken but these bulky acrylic still had loads of left overs. Disappointment plus excitement lead me to a whopping P1,900 worth of Yarn Purchase.
I immediately concluded – YARN HOARDING. Not Good, when you have just woken up. The problems of facebook online buyers and the frenzy over getting the items first (without having the chance to browse first then decide later) leads to not able to afford what you bought, or more of you did not expect you have bought that much! With no shopping cart to indicate your shopping expense progress and no (remove this item) from your list because you respect their regulations of “touch move”, I ended up not knowing what I actually purchased, if I have hoarded too many of the same colors or if you are still within reasonable amount of spending.
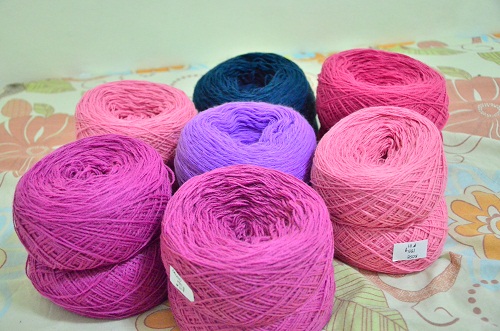
Yummy Pinks!
Good thing two friends came to the rescue. Gina, who willingly bought part of my stash (I told her to get anything she likes so long as my bill will go down) and Ian, who is too willing to buy yarns for me as birthday gift (which was last year, mind you). Hence, I ended up not paying anything. The last part of my stash would be paid by the seller, herself as our agreement for the images I will be doing for her.
And though I immediately regretted my action during that morning, I am super duper happy for the yarns that have arrived on my doorstep today! Yippee!!! Thanks to my friend, Ian.. I promise to make a bonnet for him 😀 hehe.. but look at the colors I’ve gotten?! Would he like a fuschia bonnet? hehehe..

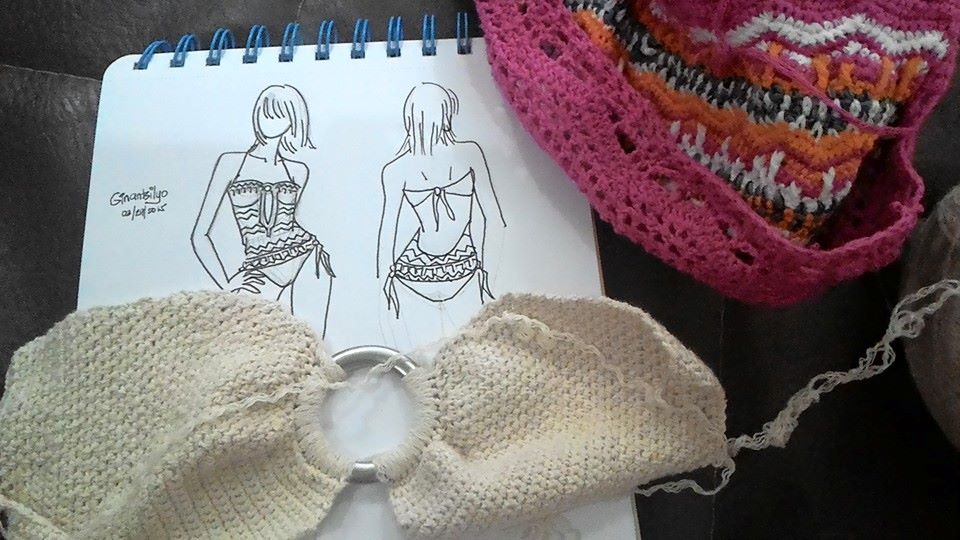
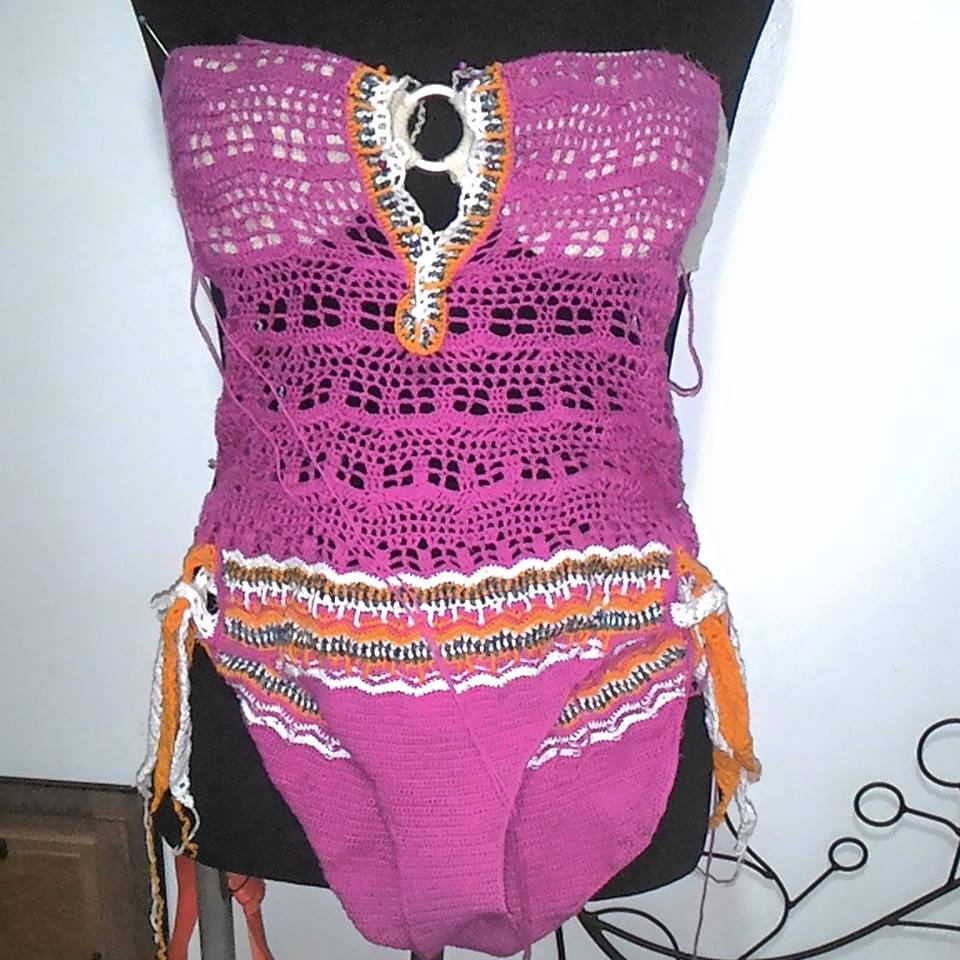
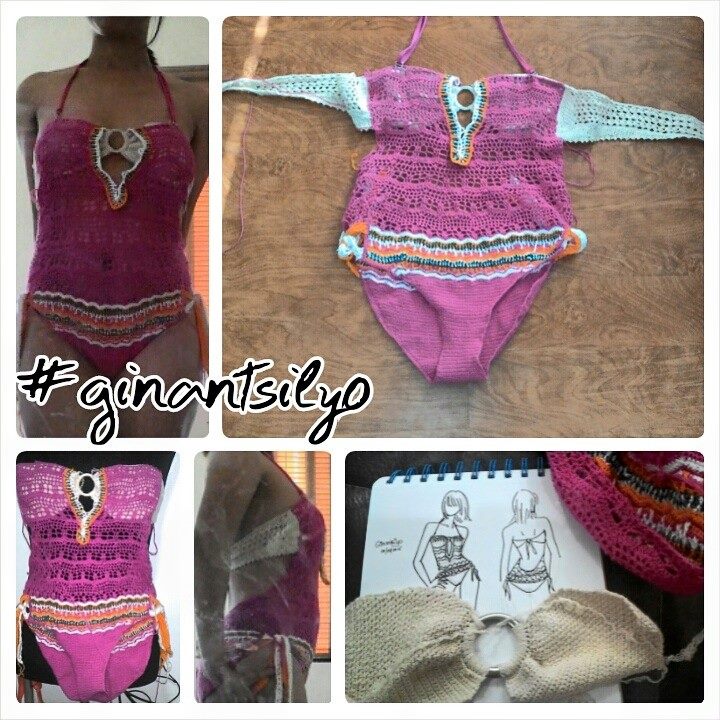
 and I do not feel so comfortable flaunting my tummy to the public anymore, so to compensate because I still love showing some skin during summer, I have to look for one piece swimsuits. Sadly, I only like a few designs, so this time around, I decided to make my own one piece swimsuit