irish crochet

A try on Irish Lace, Bruge’s Lace and Filet Crochet

Last week, I was fortunate enough to have all the time in the world to just crochet to my heart’s content. I want to share what I have come up with.

First is a Bruge’s lace concept idea that have been running on the back of my mind for a long time now. I had the chance to jot it down, and I want to share this with you.

Bruge’s lace is easy to start but is rather complicated to work around. I have tried to work on a bruge’s lace project before that did not succeed because I forced to finish this during a travel wherein I wasn’t able to gauge the right size. Hence, big fail.

Bruge’s lace has many facets, such as any other crochet tecnhiques, but I am able to try the basic one, that which forms a continuous vertical strip you turn to form a round corner to adjust the width of the lace:

Attempt on Bruge's Lace

Attempt on Bruge’s Lace

This pink project should have been a pair of shorts. :) I failed to make the right size for the crotch area and I have to unravel the whole lace strip to correct it so i decided to just let it be.

But this kind of lace amidst its simplicity is so alluring against the skin that I know I have to do something like this again. And yes, since then, I have been conjuring a basic design I could probably make in the future. And here it is:

Bruge's Lace Conceptual Design with Hexagonal motifs

Bruge’s Lace Conceptual Design with Hexagonal motifs

The Bruge’s lace part here is already in the works but I haven’t gotten the time to actually photograph.

Now the other obsession is my liking for irish crochet. I have been trying to create something using this technique but if the project is too small to satisfy my obsession, I haven’t created anything that is really successful. My first project on irish crochet resulted in creating Big and Fat Silver Earrings, and the Lacy Headband. This time, while trying to create another lacy headband, I realized I could take the time to create an Irish inspired blouse. :)

Passion Flower Design from Priscilla Crochet Collection. Lifted from the book,

Passion Flower Design from Priscilla Crochet Collection. Lifted from the book, “Irish Crochet and How to Make it”

I started with my most favorite design of Irish Crochet, the Passion Flower. I love the complexity of the stitches and the simplicity of the actual output. It looks dainty and one can be immediately curious about the cylinders of rolled over threads in the center of the flower. With this motif, I learned how to make the roll over stitch.

Working on irish crochet

Working on irish crochet

Initially, I thought I can crochet in between stitches and mend using a hook rather than a needle. This proved to be very difficult and time consuming so I took the bother to find for a tapestry needle. It was a wise decision. :)

Motif Construction

Motif Construction

As this was my first successful attempt in pursuing this kind of crochet construction, I was quite proud that two days passed without me, giving up. :) I knew I just have to finish the irish lace front and do some filet mesh on the back.

Irish Lace Front - Filet Crochet Back

Irish Lace Front – Filet Crochet Back

Currently, everything is still a work in progress. Work suddenly has to catch up and I have to rest my projects for the meantime. But I am eager to come back to these every possible time. I hope I can show you the finished blouses soon!!

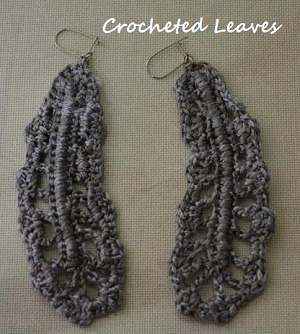
Big and Fat and Silver Crocheted Earrings

Background: I decided I am going to sell so that I can earn the money I need to purchase new yarns. This way, I can buy what I want without harming our budget.

Big and Fat and Silver – retails at P200 per pair

They are crocheted using a 100% Metallic Polyester yarn from Ice Yarns. I used kidney earring wires so that it will have a lock, hence it will lessen the probability that you will lose the crocheted earring :)

crocheted leaves

crocheted leaves – inspired from Irish Crochet’s Fern leaves

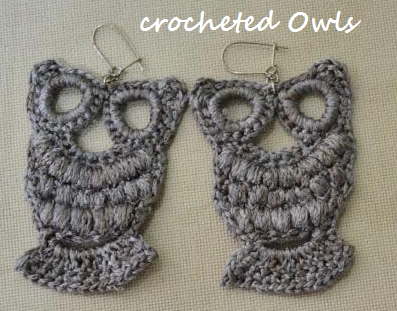
crocheted owl

crocheted owl – original design by Ginantsilyo.com

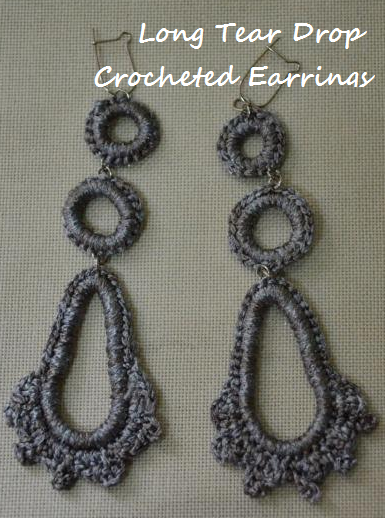
Long, Tear Drop Earrings

Long, Tear Drop Earrings – Original Design & Concept by Ginantsilyo.com

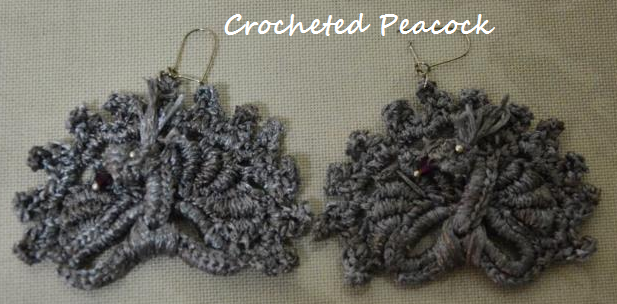
Crocheted Peacock

Crocheted Peacock – Original Design & Concept by Ginantsilyo.com

Crocheted Pouty Fish

Crocheted Pouty Fish – Original Design & Concept by Ginantsilyo.com

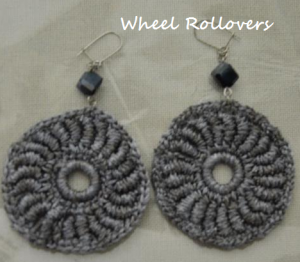
Crocheted Wheel Rollovers

Crocheted Wheel Rollovers – inspired from Irish Crocheted Flowers

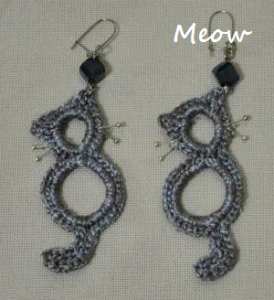
meow - crocheted cat

meow – crocheted cat – original design and concept by ginantsilyo.com

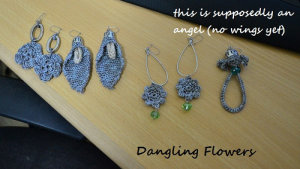
various flowers

various flowers – inspired by 100 Flowers to Knit & Crochet, angel is original design and concept

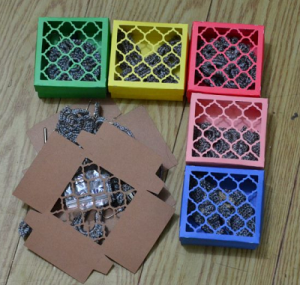
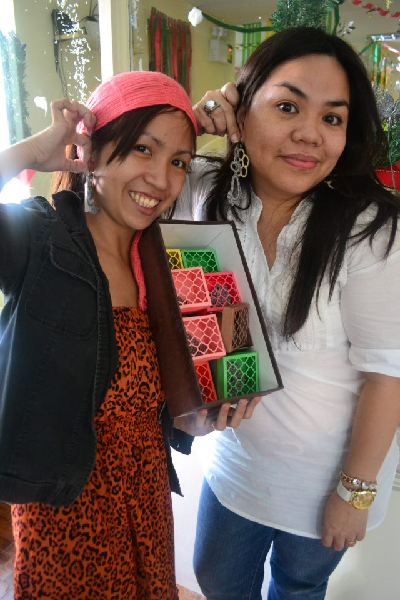
I am so happy with the earrings that I want them to be boxed on special boxes, so I have to take out my cricut machine to create fabulous boxes:

elegantly boxed up!

elegantly boxed up!

I am also happy to say that I was able to sell everything. It is also nice that the buyer appreciates my craft :) Thank you Ms. Meikah! And I hope your recipients would be very happy to receive handcrafted gifts from Ginantsilyo!

Happy Customer! Happy Seller!

Happy Customer! Happy Seller!

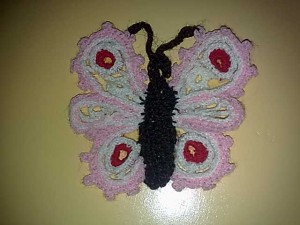
Butterfly in Venetian Crochet

Butterfly in Venetian Crochet

Introduction:

I got this pattern from A. W. B. Crochet Book, I downloaded from Antique Pattern Library. The book is not easy to read. It requires basic knowledge of crochet sticthes and uses a lot of abbreviations. It took a while before I was able to comprehend one crochet instruction, and this is it.

I am specially attracted to butterfly motifs, pendants or appliques that’s why i chose to follow this particular pattern. The crochet instructions that follow is a direct excerpt from the book:

The applique is made from separate parts sewed together, something much akin to irish crochet. Of course since the book is an irish crochet book. :)

Instructions:

BODY –

Ch 8, miss 1, d into each of the next 6 st, 3 d into end st or topl work d along other side of ch and 3 d at other end also. Work all the way round again with d, working 3 d into the end st, and when you reach the top again, ch 9, fasten into the last d, forming a ring for the head. Over the ring, work 5d; * ch 20, fasten back into 10th st, sl st back to head; * 1 d over ring, repeat from * to *; 5 d over ring, 1 d into same top st on body; work d down to lower end. Ch 11 for second section of body, work d all around three times and a half, always working 3 d into each end, and fasten off at top of section, under upper section.

WINGS –

for the upper wings, work the picot braid the length needed. For the half og th eupper wings and for the lower wings, work pieces of plain braid. (For directions see post about braid)

To form the points in the lower wings, work 1d, 1 ch and 1d into the same st, and in the last row, work 1d picot and 1d into each point; between the points, miss 1 spaces and 2 or 3 st in the longer spaces, to obtain the in-curve.

RINGS –

14d over a ring of 8ch, and 18d over a ring of 10ch. Make four of the larger rings and two of the smaller.

After all the separate pieces are made, baste them face down on the pattern as shown. Sew securely together and put in a filling of twisted bars and Bruges knot.