[Learn Ginantsilyo by Project]
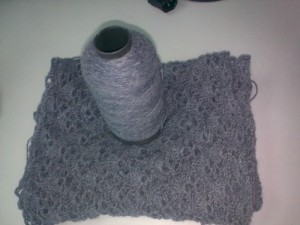
What the project is about: This is my attempt to felt the lambwool yarns I bought from China.
One of the skills I am attempting to learn as a crocheter is to felt wool. In this project, I tried to create slippers with felted sole for added comfort to the wearer.
I was playing with my fiance’s niece when I saw one of her slippers lying around. I picked it up and got inspired to make a pair of slippers. It’s what I do usually. Be inspired then crochet.
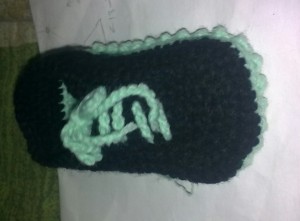
This pair of slippers is made with felted wool, for additional touch of softness and comfort. Plus ankle-wrap straps to secure the slippers on for extra flirty style. I also made the bottom sole textured for rough – look.
The project – Felted Baby Slippers with Textured Sole:
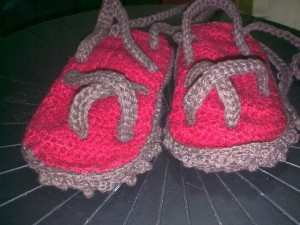
Felted Baby Slippers with Textured Sole
About the yarns and the hook:
Brown Yarn – this was bought in Indonesia at http://craftandme.com under their Soft Cotton Category.
Red Yarn – this was bought in China at http://tradekey.com. I negotiated with one of the suppliers there and got a huge lot of lambswool from them.
Needle
Hook Size
Size 2.1mm
Gauge/Tension
6ch ~ 1in
Finished Size
5.5 in x 2.5in
Abbreviations
ch = chain
sc = Single Crochet
hdc = Half Double Crochet
tc = Treble Crochet
sl st = Slip Stitch
sk = Skip
st = stitch
Pattern Notes
The textured effect was created by alternating treble and single crochet.
Each round starts with 1 ch.
Method
(Middle Sole and Top Sole) using Yarn A and Yarn B:

sole A and Sole B
Foundation Chain: Chain 20
1st row: hdc on 2nd ch from hook. 17 hdc. (sk 1st ch) 3 hdc on 2nd ch, 17 hdc on back st of ch, 2hdc on last 2nd ch. Sl st.
2nd row: ch 1. 18hdc, (2hdc on next st) twice, 18 hdc, (2hdc on next st) twice. Sl st.
3rd row: ch 1. 2hdc on 1st
st. 16 hdc, (2 hdc on next st) twice. 2 hdc, (2 hdc on next st) twice. 16 hdc, (2 hdc on next st) twice. 2 hdc, 2hdc on next st. slip st.
4th row: ch 1, 20 hdc. (2hdc on next st) twice. 2 hdc, . (2hdc on next st) twice. 20 hdc, . (2hdc on next st) twice. 2 hdc, . (2hdc on next st) twice. Sl st.
5th row: ch 1, 20 hdc. (2hdc on next st) twice. 6 hdc, . (2hdc on next st) twice. 20 hdc, . (2hdc on next st) twice. 6 hdc, . (2hdc on next st) twice. Sl st. Turn
6th row: 5 hdc, 2hdc on next st, 2 hdc, 2hdc on next st, 1 hdc, 2 hdc on next st, 7 hdc. Turn
7th row: ch 1, sk 1st st, 18 hdc, sl st. Turn
8th row: ch 1, sk 1st st. 5 hdc. 2 hdc on next st, 5 hdc, 2 hdc on next st. 3 hdc, sl st. Turn
9th row: ch 1, sk 1st st, 4 hdc, 2 hdc on next st, 7 hdc, 2 hdc on next st, 2 hdc. Turn.
10th row: ch 1, sk 1st st, 11 hdc, 2 hdc on next st, 2 hdc. Turn
11th row: ch 1, sk 1st 2 st, 10 hdc. Turn
12th row: ch 1, sk 1st 2 st, 3 hdc, sk 1 st, 3 hdc. Turn
13th row: ch 1, sk 1st 2 st, 3 hdc. Sl st.
Finishing: To smoothen edges of the, sl st with additional sc every now and then:
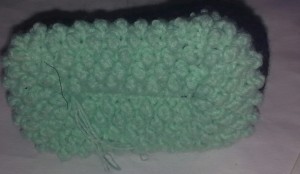
Textured Sole:
Use Yarn A:

The following stitches are done with alternating treble and single crochet. Every round starts with 1 ch.
Note that st represents alternating single and treble crochet
Foundation Chain: Chain 20
1st row: 1 st on 2nd ch from hook. 17 st (sk 1st ch) 3 st on 2nd ch, 17 st on back st of ch, 2 st on last 2nd ch. Sl st.
2nd row: ch 1. 18 st, (2 st on next st) twice, 18 st, (2st on next st) twice. Sl st.
3rd row: ch 1. 2 st on 1st st. 16 st, (2 st on next st) twice. 2 st, (2 st on next st) twice. 16 st, (2 st on next st) twice. 2 st, 2 st on next st. slip st.
4th row: ch 1, 20 st. (2 st on next st) twice. 2 st, . (2 st on next st) twice. 20 st, . (2 st on next st) twice. 2 st, . (2 st on next st) twice. Sl st.
5th row: ch 1, 20 st. (2 st on next st) twice. 6 st, . (2 st on next st) twice. 20 st, . (2 st on next st) twice. 6 st, . (2 st on next st) twice. Sl st. Turn
6th row: ch 1, 22 st (2 st on next st) thrice 4 st (2 st on next st), 22 st (2 st on next st) thrice 4 st (2 st on next st). Sl st. (Fasten Off)
(Right Foot)
7th row: ch 1, Sk 7 st, 23 st, Turn
(Left Foot)
7th row: ch 1, 23 st, Turn
8th row: ch 1, 6 st, (2 st on next st) twice. 4 st, 2 st on next st, 4 st. Turn
9th row: ch 1, 18 st, sl st.
10th row: ch 1, sk 1st st, 15 st
11th row: ch 1, sk st, 10 st. Fasten Off
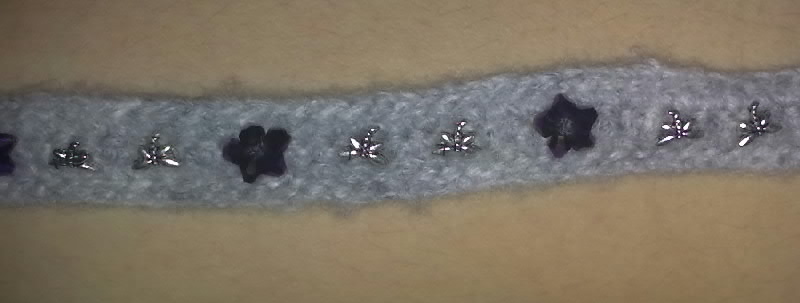
Straps:
Strap 1 (Use two strands of Yarn A): ch 15, turn, 14 sc, turn, 13 sl st. Fasten Off.
Strap 2 (Use two strands of Yarn A): ch 23, turn, 22 sc, turn, 21 sl st. Fasten Off.
Strap 3 (Use two strands of Yarn A): ch 33, turn, 32 sc, turn, 31 sl st. Fasten Off.
Strap 4&5 (Use four strands of Yarn A): ch 165. Fold the string into two. Cut in Half. Fasten off both ends
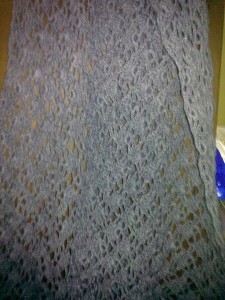
Felting:

If you used faux-animal hair, skip this step.
Soak Top Sole (if Yarn B is untreated wool) in hot water (preferably water that just got boiled) with dishwashing liquid for 5-10 minutes (as desired – or longer). Remove the cloth from hot water. Be careful with being burned. Gently hand wash the cloth until felting occurs. Soak again to hot water. Repeat procedure til desired texture is achieve. Wash the soap in cold water. Let the sole dry.
< ![endif]–>
Assembly:

< ![endif]–>
< ![endif]–>
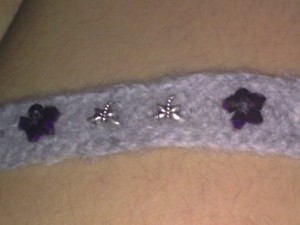
Fit Top Sole and middle sole on top of each other. Position the straps as shown on the left.
Secure the straps by sewing it (into top sole to middle sole) firmly and tightly. Make sure no straps are loose.
Sew the straps 4 and 5 near the back of the sole.
Using Yarn B, sew top sole and middle sew (running stitches)
Fit bottom sole and top sole together. Using Yarn B, attach two soles by sc st together.
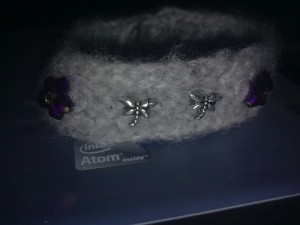
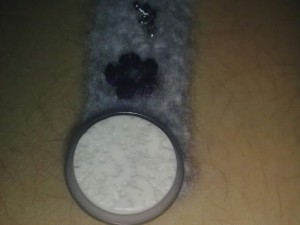
Finished Product

 Guys, dig in!